Untitled
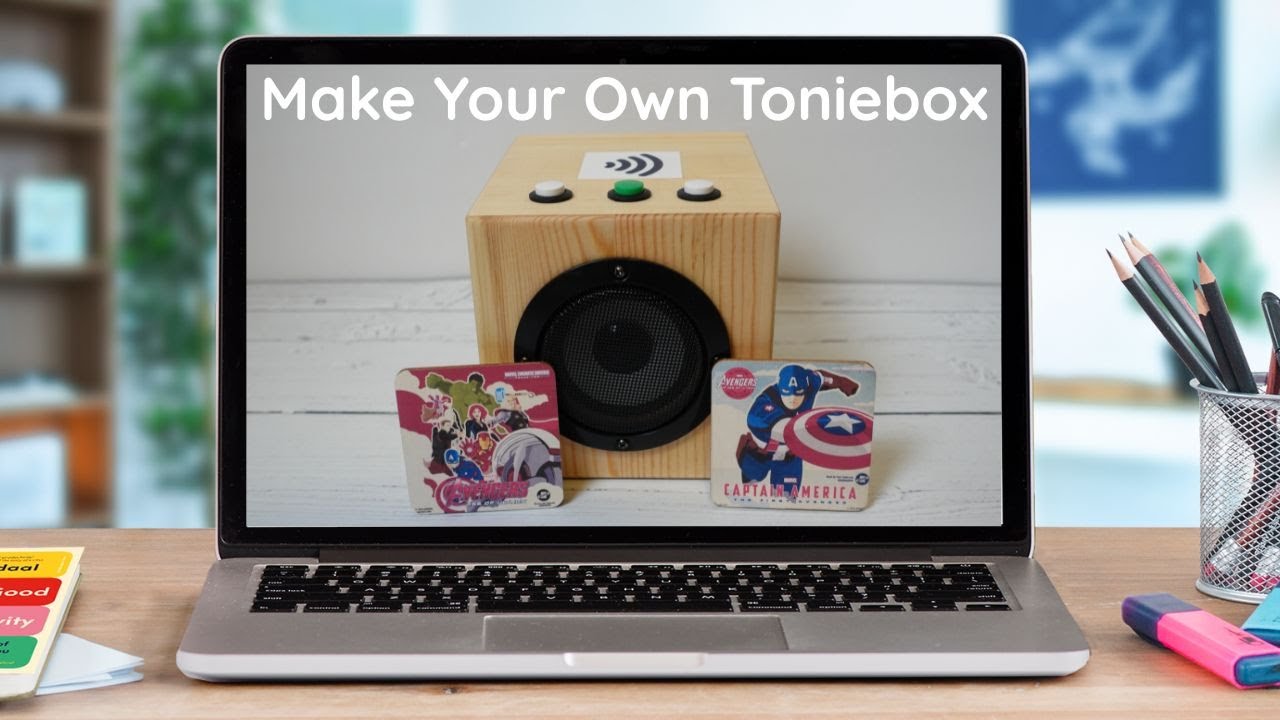
This is a detailed, step-by-step tutorial demonstrating how to set up a “Phony Box” using a Raspberry Pi, likely for a custom music player or interactive display.
Here is a structured summary of the process, broken down by major phases:
🛠️ Phase 1: Initial Setup (Terminal Commands)
The initial steps involve getting the system ready via the command line interface (CLI).
- Determine Release: The creator advises using the stable release over the pre-release version.
- Copy/Paste Command: A specific command is copied and pasted into the terminal.
- Troubleshooting (Raspberry Pi 4 Error): Encountering an error specific to the Raspberry Pi 4 requires editing the configuration text file.
- Action: Scroll to the very bottom of the file and paste a specific block of text.
- Save: Use Ctrl+X, select Y, and press Enter.
- Reboot: The system must be rebooted for the changes to take effect.
- Command:
sudo reboot(orpseudo reboot).
- Command:
- Reconnecting: After rebooting, the same SSH command is used to reconnect and enter the password.
💿 Phase 2: Software Installation (GitHub Link)
The next phase involves installing the core software package.
- Get Link: Return to the GitHub page, navigate to the “install” section, and copy the stable version link.
- Install: Paste the link into the terminal and press Enter.
- On-Screen Prompts: The installation process requires answering several prompts:
- IPv6: Disable it (recommended for speed).
- Static IP: Highly recommended to set a static IP address.
- Hotspot: Set it up for portability (if needed).
- Bluetooth: Leave enabled (if used with headsets).
- Headjack: Do not disable it (if using the 3.5mm jack).
- RFI Reader: Set up (Yes), as this is crucial and easier to do during installation.
- Samba: Yes, for remote file access.
- Web Interface: Yes, for management.
- Kiosk Mode: No (unless the user knows how to configure it).
- RFID Reader Selection: When prompted, select the correct RFID reader model (e.g., selecting option 3 for the MFRC 522).
- System Configuration:
- Python Dependencies: Recommend installing (Yes).
- Auto Configure: Yes.
- Defaults: Follow the default pin settings (e.g., default 24 and 25).
- Legacy Mode: No (if this is a first-time install).
- Add Reader: No (if only one reader is used).
- Final Reboot: The system reboots again.
🖥️ Phase 3: GPIO and Hardware Configuration
After the core software is running, the physical inputs (buttons) must be wired and configured.
- Enable GPIO:
- Action: Copy and paste the command to enable GPIO pins in the configuration utility.
- Change: Change the setting from
falsetotrue. - Save: Save changes (
Ctrl+X->Y-> Enter).
- GPIO File Setup: A new file must be created to map the buttons to functions.
- Action: Copy and paste the necessary command to create the GPIO file.
- Customization: Paste a pre-configured block of code that maps functions to specific pins (e.g., Volume LED to Pin 12, Play/Stop to Pin 14, Side Buttons to Pins 17 & 18).
- Save: Save the file.
- Final Reboot: Perform a final reboot.
- Physical Wiring (Breadboard): The guide demonstrates wiring the components using a breadboard for prototyping:
- Ground: All common grounds are tied together (daisy-chained).
- LED: Wired to Pin 12.
- Play Button: Wired to Pin 14.
- Volume Buttons: Wired to Pins 17 (Negative/Lower) and 18 (Positive/Higher).
- Connection Method: The physical connections are made by referencing the correct GPIO pin numbers (e.g., GPIO 17 is Pin 11).
🎵 Phase 4: Testing and Usage
The final steps involve testing the functionality through the web interface.
- Access GUI: Access the web GUI via the assigned IP address or hostname.
- Test RFID: Test the card reader by placing an NFC card over the reader, which allows assigning an action (e.g., “Play Music”).
- Connect to Server: Use the “Connect to Server” function in the GUI.
- Credentials: Enter the correct IP address and the default password (
raspberry).
- Credentials: Enter the correct IP address and the default password (
- Manage Media:
- File Upload: Drag MP3 or WAV files into the designated “audio” folder section.
- Playback: Test the physical buttons (Play/Pause, Volume Up/Down) to confirm they control the connected speakers.
Summary of Key Takeaways:
- Process Flow: The setup is highly iterative: Software Install $\rightarrow$ Config File Edit $\rightarrow$ Reboot $\rightarrow$ Hardware Wiring $\rightarrow$ Test/Final Reboot.
- Critical Components: The success relies on setting the Static IP, correctly configuring the GPIO pins in the dedicated file, and physically wiring the buttons to the correct GPIO numbers.
- Goal: To create a fully functional, custom, smart media player that uses RFID for triggering actions and physical buttons for control.
Where to buy

As an Amazon Associate I earn from qualifying purchases. Some links on this page are affiliate links — I may earn a small commission at no extra cost to you. Prices shown are accurate as of 2026-10-05 and may change.